
Blog Pins App for Mac
Make and schedule your first Pin
Follow the desktop workflow with a public article you have permission to use, or start with your own photos. You can stop after exporting if you only need an image file.
1. Install and sign in
- When available, get the app from the download page for an Apple Silicon Mac running macOS 13 or later. Install and open it.
- Click Sign in. Complete email sign-in or choose Google if it’s available. Confirm that the browser shows the same connection code as the desktop app and the account you want to use, then click Continue to desktop.
- Open your account to check desktop access. Checkout for the lifetime offer is coming soon. If access is already active, return to the app and choose Refresh access if needed.
2. Create or choose a project
- Use the Workspace selector in the sidebar to open an existing project, or click the plus button next to it to start a new one.
- Enter a project name, review the timezone, and click Create project. The website field is optional.
- Use Library to return to your saved sources and drafts. Your original images, drafts, and exports stay on this Mac.
3. Bring in content and photos
4. Design and export your Pin
Local templates use no AI credits. Create and export template Pins without an AI charge when you have access to the app.
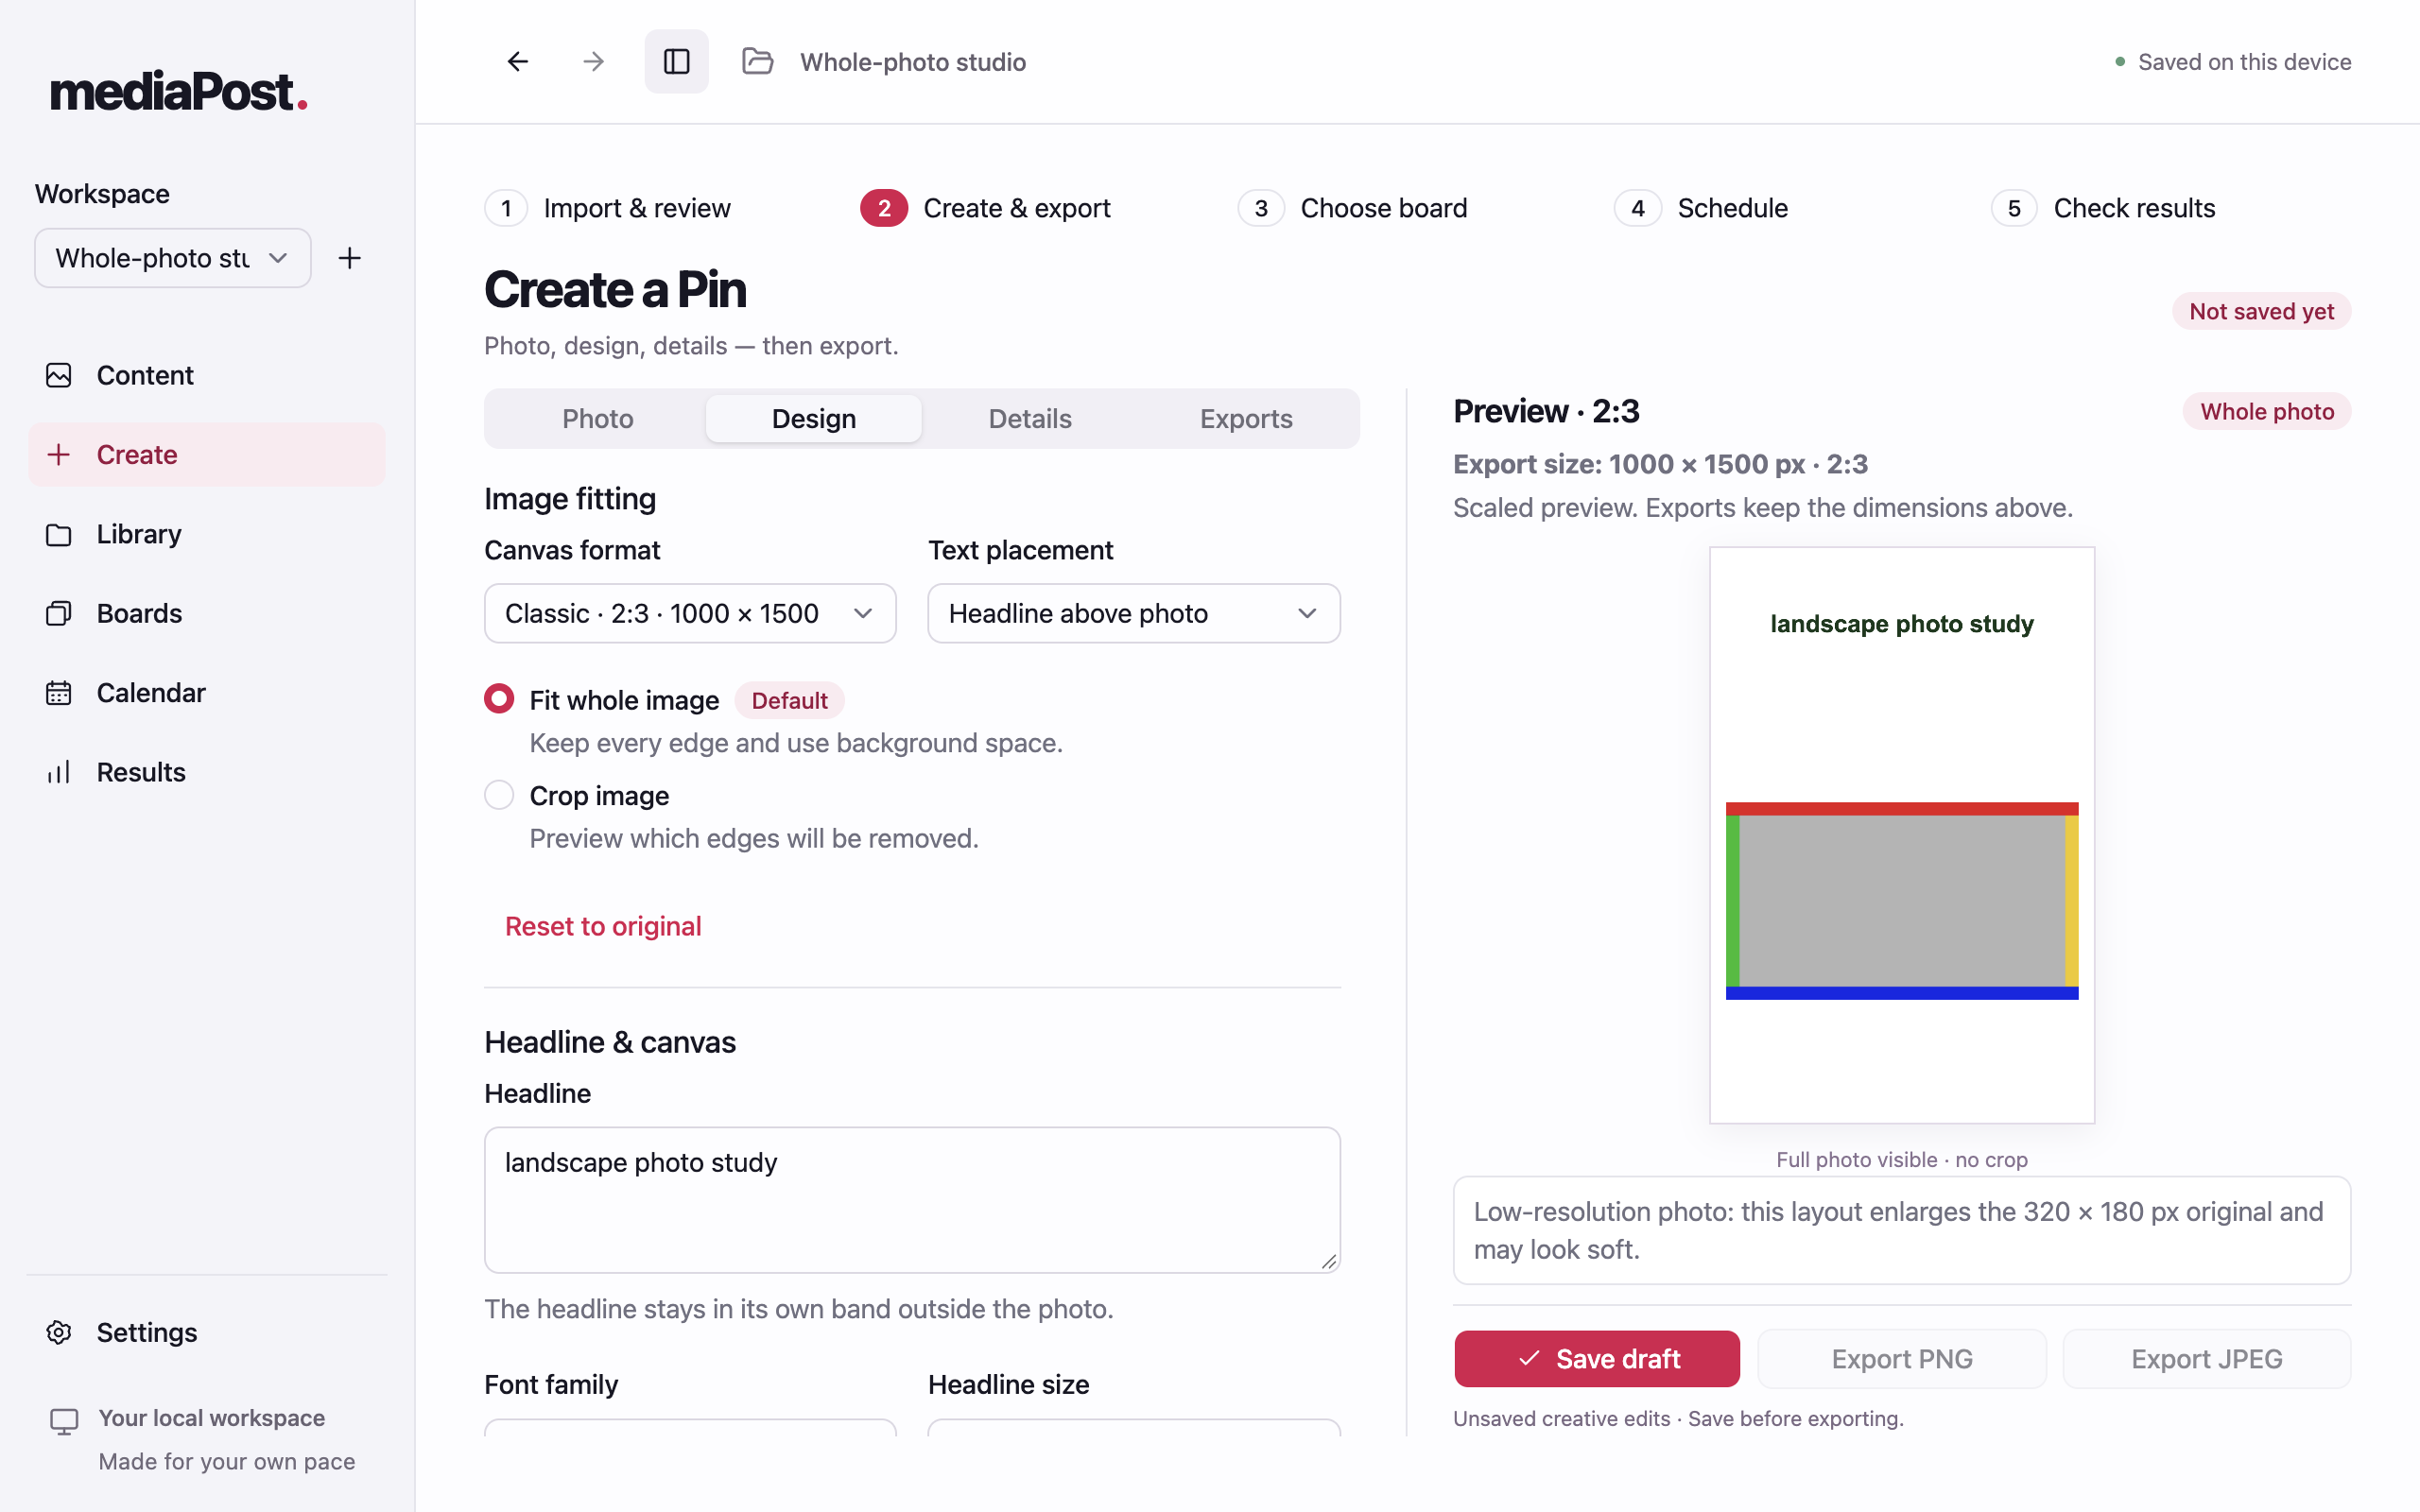
- Open Design. Choose a local template, image size, headline placement, and background. A single-photo Pin starts with Fit whole image.
- For a multi-photo Pin, select and order photos from the same source in Photo. Use a collage or grid layout with up to eight photos, or a stack with up to four. The editor combines them into one final Pin image.
- If you choose Fill canvas (crop), check the preview and select Approve crop before saving. You can switch back to whole-photo fitting at any time.
- Review the title, description, and destination in Details. Choose Save draft, then Export PNG or Export JPEG. Find the file in Exports and use Save a copy to choose a folder. For scheduling, Save draft & choose board continues to the board step.
5. Use AI assistance (optional)
- Open Settings and choose Models. Select a supported provider and save your own key if that provider requires one.
- In Create, open AI tools. Request headline and copy suggestions or use an available image-generation option. Review what will be sent and any provider cost before confirming the request.
- Read or preview the result before applying it. You can keep editing with local templates whenever you want.
Bring your own keys (BYOK). AI and Zernio usage may be billed separately by those providers.
6. Connect Zernio and choose a board
- Connect your Pinterest account to Zernio. In the app, open Settings, then Connections. Paste your own Zernio API key and choose Save API key.
- Open Boards. Use Refresh accounts if needed, pick the Pinterest account, and choose Use selected account.
- Use Refresh boards if needed. Pick a board, confirm the board and account details, then click Approve board and Continue to scheduling.
7. Schedule the approved export
- In the scheduling planner, select the saved draft and the exact exported image. Confirm the approved board shown, then click Choose date and time.
- Pick a future local date and time, confirm the timezone, and preview the exact image, destination, and time. Click Approve local plan after reviewing.
- Use Submit to Zernio and confirm the handoff. Open Calendar to review the plan and make eligible schedule changes.
A local plan stays on your Mac until you submit it. Zernio accepting the schedule means it received the request. Publication is reported separately.
8. Check publication and metrics
- Open Analytics and choose Publishing history. Select the Pin you scheduled.
- Click Reconcile status to check the latest provider report. If the result is uncertain, reconcile the existing operation before sending anything again. Use Open reported Pin when the provider supplies a link.
- Use Refresh metrics when available to read impressions, saves, and clicks reported by the provider. Missing figures stay unknown.
9. Restore access after a payment issue
- If an existing subscription trial ends before payment is confirmed, you can read saved drafts while editing, exports, and new publishing actions are paused.
- For a pending payment, choose Refresh access. If a charge failed, choose Update payment method to open billing and update your details through Paddle.
- Return to the app and refresh access after Paddle confirms payment. Use the account page to check your plan or manage billing.